When I went to Home Depot to get some samples of paint, the guy directed me to a product that was his favorite called DIF gel wallpaper stripper.
Now, I have been researching wallpaper remover on Pinterest and most people say fabric softener does the same thing as a lot of these other products, but this was only $4.10 for the bottle, so I thought, WHY NOT. The little scraper thing is the same DIF brand (only like $5.00) and is used to poke tiny holes through the first layer of wallpaper into the second, that way the spray can penetrate through to disintegrate the glue. I figured, this is WAY cheaper than renting one of those steamer things, and if it doesn't work, it's only like $10 wasted. So I got a bottle of wine and got to work!!
The first step is running that little hand-held scraper thing over all of the wallpaper.
Then, after that is done to all of the walls, the second step is to apply the spray. I applied to all of the walls at the same time, that way it went a little faster.
Once applied everywhere, wait for 15-20 minutes. I am really impatient, so after I finished spraying everything, I went back to where I started and began peeling.
This is the hard part. All over Pinterest it says, "peel both the top and bottom layer off together" blah blah blah. So I tried. And failed.
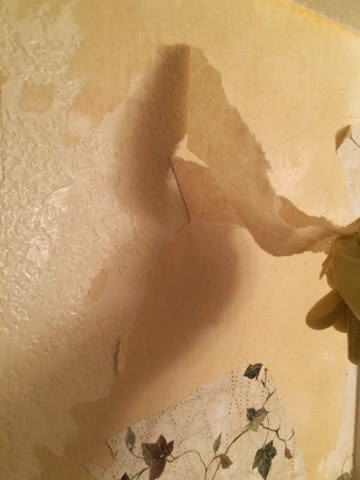
The top layer just came off like butter, and in huge sheets! The bottom layer was still stuck, but at least it was easy to access now since the top layer is the one that is waterproof.
Which brings me to the third step; reapply the spray and sponge on some water too (if you want to conserve some spray - my walls were already drenched in it). After doing this, the second layer also peeled off like butter. These sheets weren't as big, but it was still really easy.
The only areas I had trouble with were around the edges. I guess, when applying the paper, they concentrate the glue more around corners and edges, which makes total sense if you want it to stay on. We don't. Hence the issue.
You can see what I'm talking about in this picture below. Around the edging, the wall paper stuck really well. :|
So, the forth step is to grab a putty knife or an abrasive sponge that won't damage the walls (if you want to save your nails) and start scraping and peeling!! Brad helped me with this step:)
Now you're done!
And now the fun part - PAINTING!!!


Any more updates? Love your blog :)
ReplyDelete